
Now it is time to move to the building itself. I used 2.5mm cardboard as the main materials for the structure, there are many options to choose from but this comes readily available in my area, though, styrene is still the best for me as it is easier to cut, sand and clean.
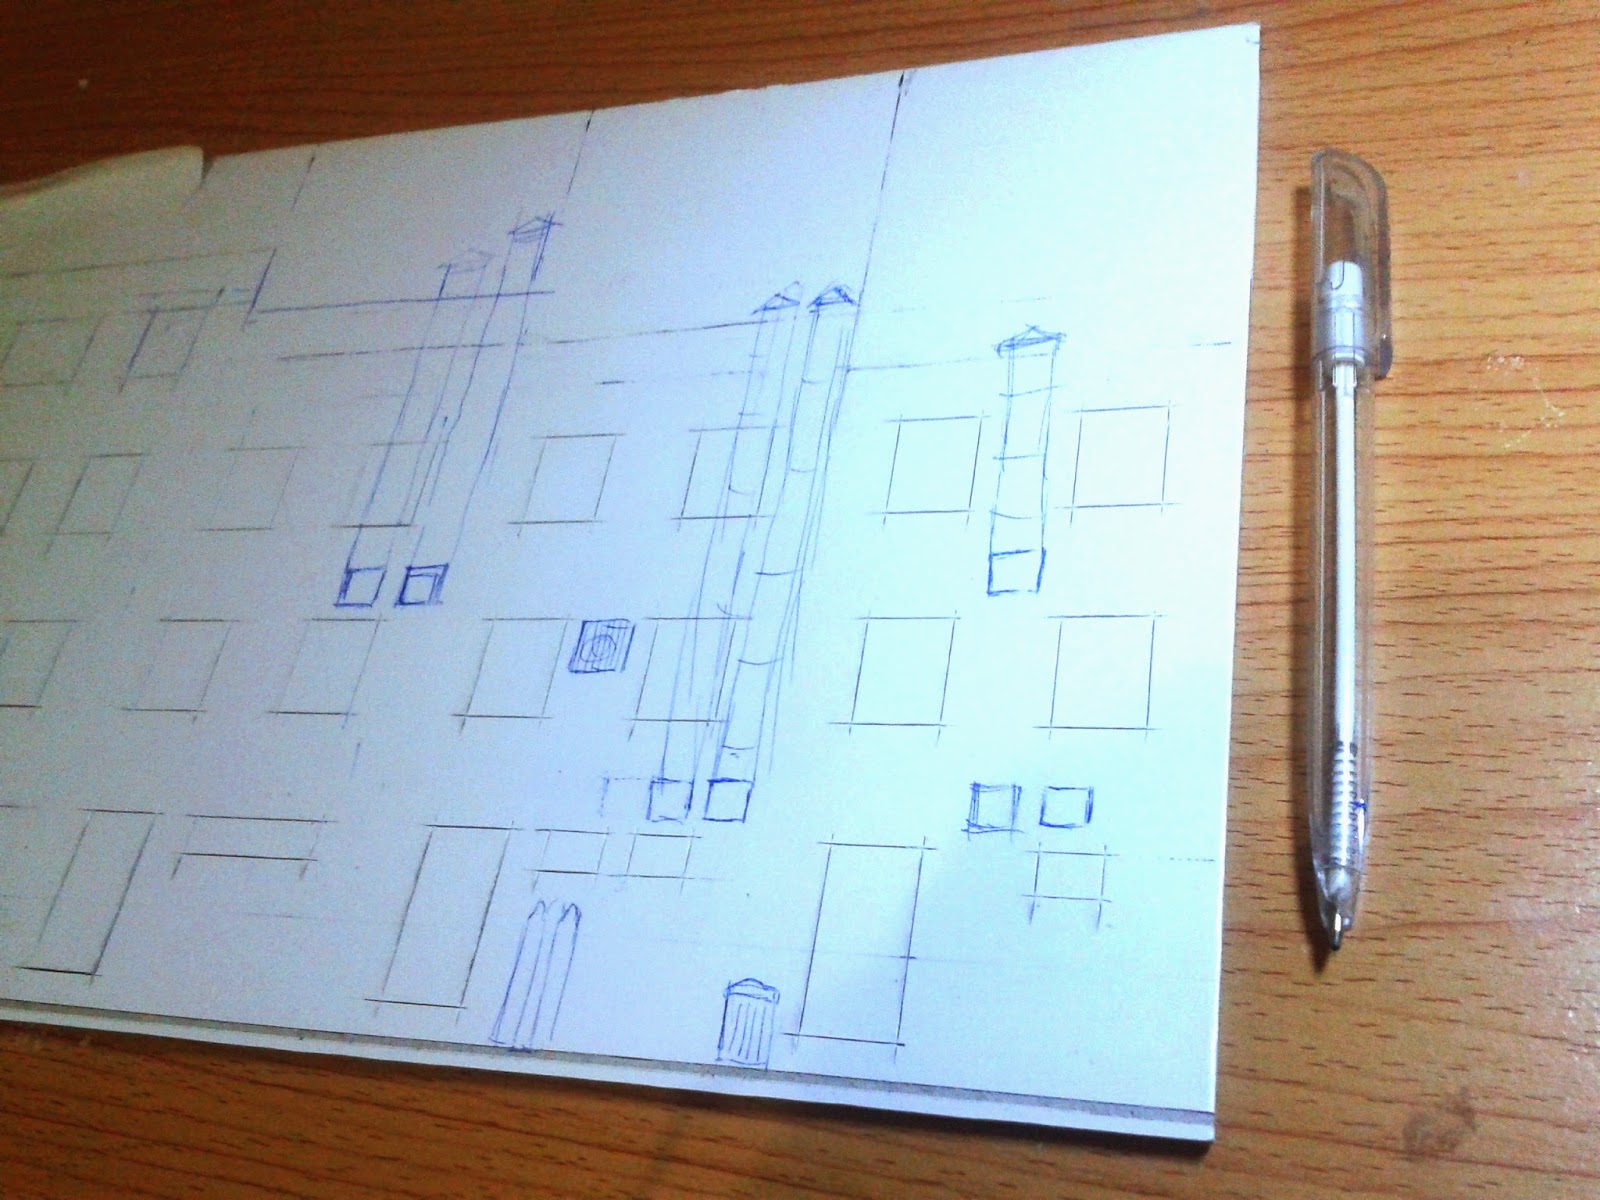
First, I drew the location of the windows and doors directly on the cardboard, then the outer shape of the building. Below is the picture, as you can see, I traced the openings and I made deep markings on the surface and was ready for the final cut, I didn't totally cut out the openings the first time around as I might change the final design at some point, but in the end, I still chose to stick to the original plan.

To be able to see the correct scale of everything, I drew also the accessories that would come with these project, proper scaling is very important as it is one of the many factors that affects the overall appearance of the diorama when displayed/finished.
Just a simple tip when cutting the windows and doors out of the cardboard. The doors and windows should be cut out first, then the shape of the facade later. The reason behind this is that the cardboard is 2.5mm hard material and that's not easy to cut, you would need four sides of the board intact and uncut to hold on to while forcefully cutting out the openings one by one.

Next, I prepared the air-drying clay for kneading, flattening and laying of clay on the facade. Picture below are the materials for this task.

The messy part of the project. It would be really great if I had pasta rollers for kneading and flattening the clay but for now I'm quite alright using my reliable packaging tape. I was aiming for the thinnest flat clay as much as possible but the actual thickness I could do out of it was only about 2mm, still to thick but i have no other choice.

The picture below shows the flattened clay laid on the facade, I used white glue to glue the materials together. The clay drying time was limiting my job and this is one of the few drawbacks when using this kind of material. So I worked on a patch of clay approx. 10cm x 15cm at a time, then repeats the whole process for the next patch.

We came now to the "not so fun part". This was really the most tedious part of the job, really. If not for the love of the hobby I would definitely skip this part, am I my worst enemy? OK, I made myself an improvised sculpting tool to help speed up the process, it's an old paint brush with its hairs removed, leaving me the metal tip which I trimmed down to .7mm width to match exactly the vertical line of the bricks. I scored the horizontal lines using the tool with the guide of a straight edge and then, the vertical lines were sculpted "mano mano" as shown in the photos.

I have to stress again the challenges when working with air drying clay, I have to to do sculpting in super fast mode while keeping the distance between each line consistent before it becomes completely hard, but few mistakes were still fine, anyway, the whole facade doesn't have to look perfectly sculpted as I needed variations on some parts of the surface for more realistic effect.

Gluing the walls together. I used superglue for assembling the building walls, I applied superglue on the end joints of the parts and held them together and waited for a few seconds or a minute to make sure the glue is fully cured. CA glue or superglue are somewhat brittle and it seems the glued parts goes off easily whenever I am working around the building like when I'm painting for instance. To reinforce the joined walls, I applied a few layers of thick white glue on corners then wiped the excess. That's all for now. Till next time!
No comments:
Post a Comment