
Who doesn’t like F1 cars? I'm sure, no one would vote for a no! Although I’m not really a hardcore fan of F1 racing, and I don’t collect F1 diecast cars either (at least not yet there), but I’m always amazed of how beauty & beast combined together can form the most sophisticated race car ever made.
When I was in grade school, the Gillette World Sport is one of the programs in the afternoon television I never failed to see... Racing cars, bikes and boats amused the young eyes, but as I grew older, bigger and wider world is awaiting… a lot of things encountered along the way. So, I thought I would pay a visit my old routine, but this time I want to feel the “adrenaline rush” right before my eyes.
Monaco Grand Prix was my inspiration for this diorama because of its beautiful and glamorous location, so I picked a scene that is viewed from the sea, specifically, the view from a yacht.
Here's the layout.

 I need something sophisticated to complement the F1 car, some kind of modern, so I thought a modern design railing might help.
Painted real stones were used for the rocks.

I've been so busy with other things this last few months, and this project is long over due, but I promise I''ll get back into it as soon as possible. Please check back from time to time....

Here's an update, To simulate an asphalt road, I painted it with
charcoal black acrylic paint and lighten it with a wash of light gray and dark gray.
Picture below shows the asphalt to be a bit too dark which probably caused by the camera not attracting enough light at this angle but actually it's just normal gray.

Cheap paints brush for the ground work, cheaper = better :)
I really enjoyed painting the pavements. Here, I mix burnt sienna, yellow ocre with white paints and then added some drops of dark and light gray for random shades of beige, orange and brown.
I used cardboard for the pavement then I score it with a hobby knife.

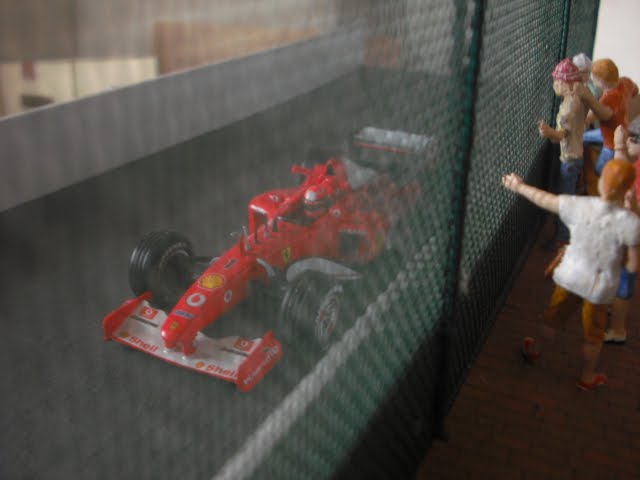
I had a real hard time which color to choose for the railings, it ended up with white, but then realized it doesn't blend well with the other elements, so I applied rust and did some weathering effect.>>>
The fun begins!As for the rocks, I primed it with gray
acrylic paint (rattle can) just to make sure that the base paint will adhere well on the surface of the stones. After the primer has dried, I, then applied the base paint.
 As usual, I used the wet on wet technique here. While the base paint was still wet, I started applying layers of paints, choco brown and dark brown on the lower part of the sea wall and then dark beige-light beige on the upper part.


Modern day three stooges LOL!!!
When I was in grade school, the Gillette World Sport is one of the programs in the afternoon television I never failed to see... Racing cars, bikes and boats amused the young eyes, but as I grew older, bigger and wider world is awaiting… a lot of things encountered along the way. So, I thought I would pay a visit my old routine, but this time I want to feel the “adrenaline rush” right before my eyes.
Monaco Grand Prix was my inspiration for this diorama because of its beautiful and glamorous location, so I picked a scene that is viewed from the sea, specifically, the view from a yacht.
Here's the layout.
Painted real stones were used for the rocks.

Here's an update, To simulate an asphalt road, I painted it with
charcoal black acrylic paint and lighten it with a wash of light gray and dark gray.
Picture below shows the asphalt to be a bit too dark which probably caused by the camera not attracting enough light at this angle but actually it's just normal gray.

Cheap paints brush for the ground work, cheaper = better :)
I really enjoyed painting the pavements. Here, I mix burnt sienna, yellow ocre with white paints and then added some drops of dark and light gray for random shades of beige, orange and brown.
I used cardboard for the pavement then I score it with a hobby knife.

I had a real hard time which color to choose for the railings, it ended up with white, but then realized it doesn't blend well with the other elements, so I applied rust and did some weathering effect.>>>
The fun begins!As for the rocks, I primed it with gray
acrylic paint (rattle can) just to make sure that the base paint will adhere well on the surface of the stones. After the primer has dried, I, then applied the base paint.


Modern day three stooges LOL!!!
No comments:
Post a Comment